ESP Web Tools: Flash an ESP32 From Your Browser
Flash an ESP32 from the browser with ESP Web Tools or esptool-js: how Web Serial, the manifest and the flash offsets work, with a real OpenGizmo manifest.
- Author
 Mauro Brambilla
- Published
- Reading time
- 10 min
- Category
- Guides
In short
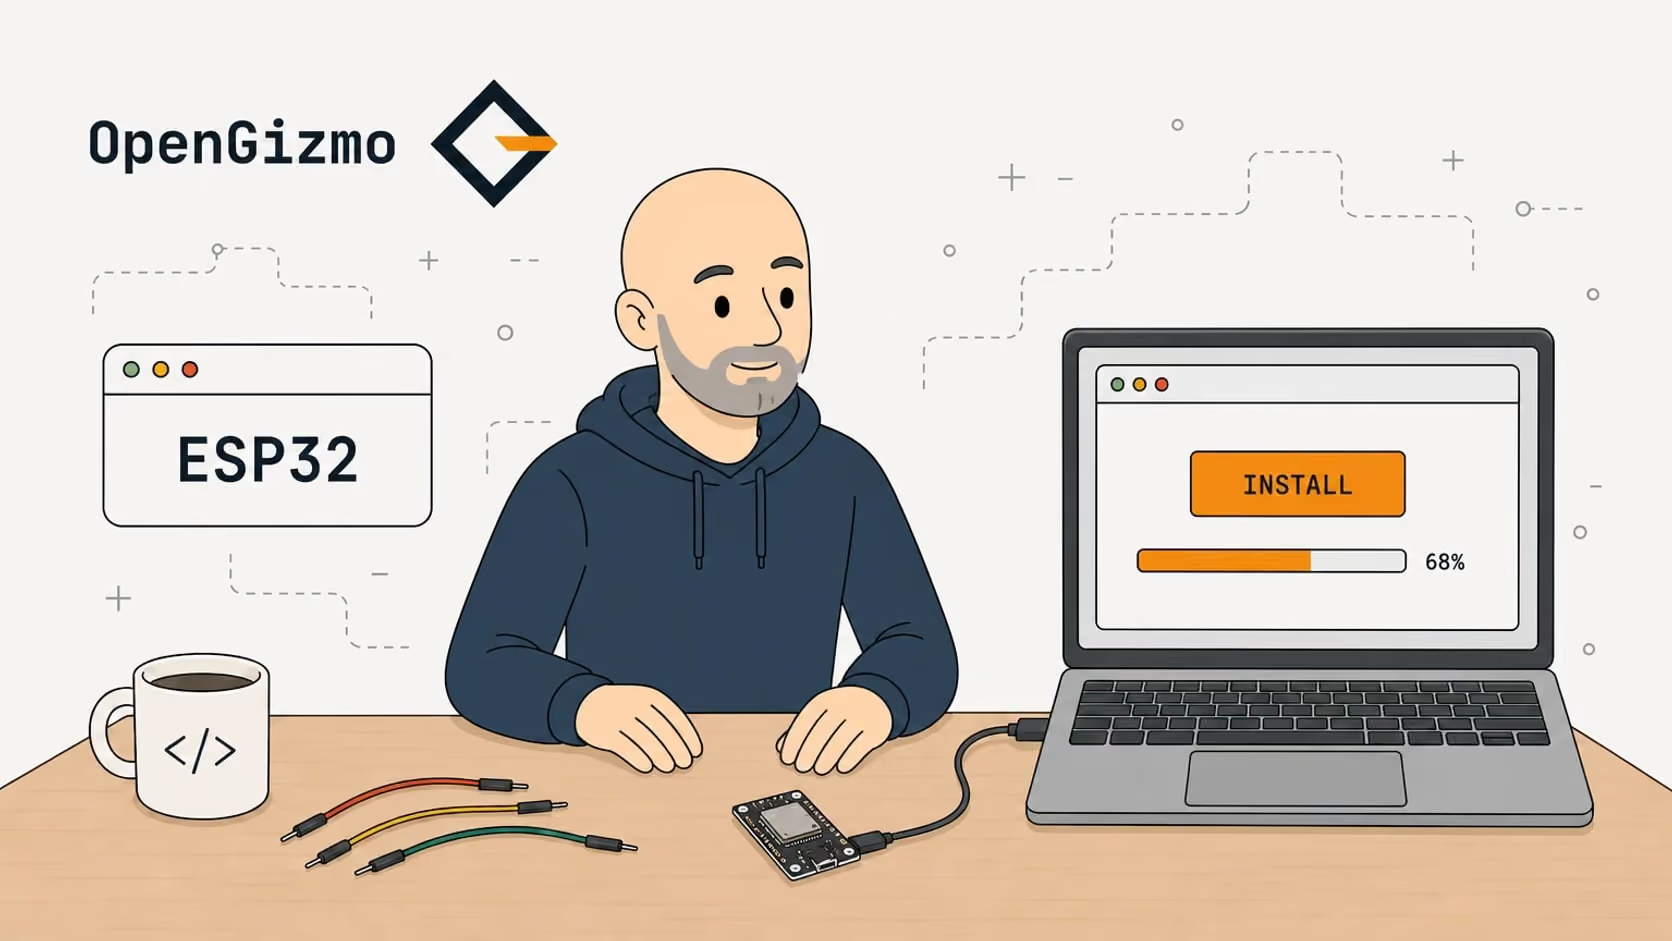
ESP Web Tools flashes an ESP32 over Web Serial, in Chrome or Edge on an HTTPS page, from a manifest.json that lists each firmware part and its flash offset. OpenGizmo does the same with esptool-js.
Yes, you can flash an ESP32 from a web browser. ESP Web Tools, or any page built on Espressif's esptool-js, talks to the board through the Web Serial API: you open an HTTPS page in Chrome or Edge on a desktop, plug in a USB data cable, pick the serial port and press a button.
This guide explains how ESP Web Tools works (Web Serial, the manifest.json, the offsets), then shows how the three OpenGizmo devices use the same idea with a real manifest, hosted on a CDN. One detail first: OpenGizmo's site does not embed the ESP Web Tools button. It runs esptool-js directly, and I will show why.
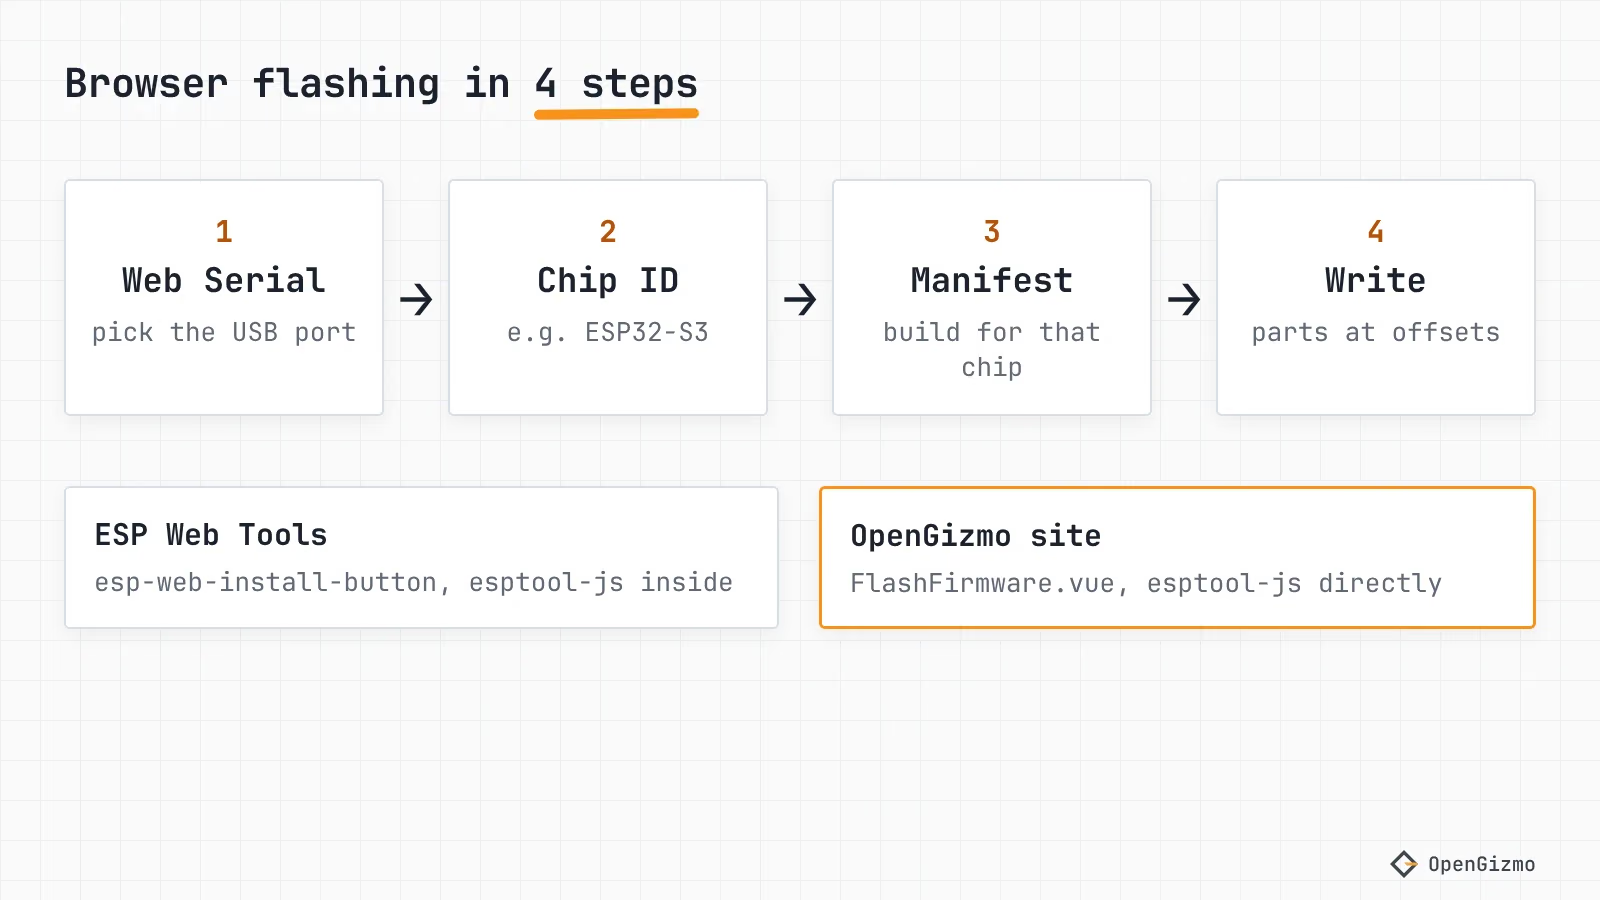
How does ESP Web Tools work?
ESP Web Tools is an open-source web component from the ESPHome project (Open Home Foundation) that adds an install button for ESP8266 and ESP32 firmware to any web page. Its own site says it works by combining Web Serial, Improv Wi-Fi (optional) and a manifest that describes the firmware.
Wait, what is Web Serial? It is a browser API that lets a page read from and write to serial devices, including USB devices that expose a virtual serial port, which is what an ESP32 dev board does. The browser shows a port picker and you choose the port yourself, so a page cannot open a device behind your back.
Here is what happens when someone presses the button:
- The browser asks the user to pick a serial port.
- The tool connects to the chip's ROM bootloader and detects the chip. Per the docs, it then selects the right firmware variant from the manifest automatically.
- It downloads the parts of that build and writes each one at its offset.
- Optionally, it waits for Improv Serial to learn the device's state and offer Wi-Fi setup.
The flashing itself is not reinvented. As of November 2026, the ESP Web Tools package (version 10.5.x) depends on esptool-js, Espressif's JavaScript port of the esptool flasher, along with the Improv serial SDK. That is why the two tools behave alike.
Adding the button to your page takes two snippets, both from the official instructions: load the script, then place the element and point it at your manifest.
<script type="module" src="https://unpkg.com/esp-web-tools@10/dist/web/install-button.js?module"></script>

<esp-web-install-button manifest="https://example.com/firmware/manifest.json"></esp-web-install-button>Which browsers support it, and why HTTPS?
Web Serial only exists in secure contexts, so the page with the button must be served over HTTPS. ESP Web Tools states this as a Web Serial requirement. The browser also has to implement the API, and that is the real limit.
| Browser | Web Serial | Note |
|---|---|---|
| Chrome (desktop) | Yes, from version 89 | esptool-js documents Chrome and Edge 89 or later |
| Edge (desktop) | Yes, from version 89 | Mirrors Chrome in MDN's compatibility data |
| Chrome on Android | Yes, from version 148 | Versions 138 to 147 only saw Bluetooth serial ports |
| Firefox (desktop) | Yes, from version 151 | MDN data. I have not tested it |
| Firefox on Android | No | MDN data |
| Safari, any iOS browser | No | MDN data. ESP Web Tools also says not iOS |
The versions come from MDN's browser compatibility data as of November 2026, and MDN itself marks the feature as not Baseline. I only checked the OpenGizmo flasher's behavior in code, not in each browser. Its card shows "Cannot flash from this browser" when navigator.serial is missing or the page is not a secure context.
If you are on Safari or a phone, flash once with a tool installed on a computer: see Arduino IDE vs PlatformIO for ESP32, or for the ESP32-CAM, the ESP32-CAM-MB programmer guide.
How do you write the manifest and pick the offsets?
A manifest is a small JSON file that tells the flasher which firmware to install on which chip. Each build lists the files (parts) to write and the flash offset of each one. This is the smallest useful one, in the format from the ESP Web Tools docs:
{
  "name": "My Firmware",
  "version": "1.0.0",
  "builds": [
    {
      "chipFamily": "ESP32-S3",
      "parts": [
        {
          "path": "merged-firmware.bin",
          "offset": 0
        }
      ]
    }
  ]
}Part paths are resolved relative to the manifest, and can also be full URLs on other hosts. The fields you are likely to meet:
| Key | Where | What it does |
|---|---|---|
| name, version | top level | Shown in the UI. The name is compared with the firmware the device reports through Improv |
| builds[].chipFamily | build | ESP8266, ESP32, ESP32-C2, ESP32-C3, ESP32-C5, ESP32-C6, ESP32-C61, ESP32-H2, ESP32-P4, ESP32-S2 or ESP32-S3 |
| builds[].parts[] | build | A file path and the integer flash offset to write it at |
| builds[].serialType | build | cdc or uart: a separate build for native USB or a USB-UART bridge |
| new_install_prompt_erase | top level | true lets the user choose to erase everything on a new installation |
| new_install_improv_wait_time | top level | Seconds to wait for an Improv response after install (10 by default, 0 turns Improv off) |
| home_assistant_domain, funding_url | top level | Optional links shown after the install |
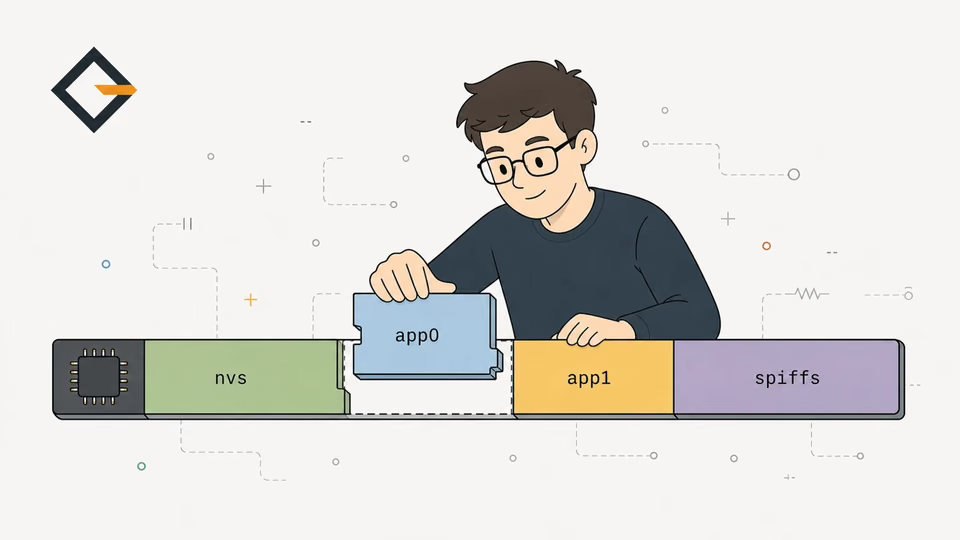
The offsets depend on the chip and on how you built the firmware. For a firmware split into four files, the ESP-IDF documentation puts the second-stage bootloader at 0x1000 on the ESP32 and at 0x0 on the ESP32-S3. The S3 page also puts the partition table at 0x8000 by default. In the PlatformIO builds I ship, the boot_app0 image goes at 0xE000 and the app at 0x10000. Never guess: read them from your build, as the next section does.
Do you need a merged firmware file?
For an ESP32 built with ESP-IDF 4 or later, the ESP Web Tools docs say you do. The reason they give: when the four files are installed with the esptool command, esptool patches the flash frequency, size and mode to match the target device, and ESP Web Tools cannot do that on the fly. So you build one image with merge_bin and list it at offset 0.
esptool --chip esp32 merge_bin -o merged-firmware.bin --flash_mode dio --flash_freq 40m --flash_size 4MB 0x1000 bootloader.bin 0x8000 partitions.bin 0xe000 boot.bin 0x10000 your_app.binSeparate parts can also work: the example manifest in the ESP Web Tools README lists four files, with a bootloader named bootloader_dout_40m.bin whose flash settings were already chosen at build time. The merge is the documented route when you start from a normal build. The docs add two caveats: use dout when your memory type is opi_opi or opi_qspi, and override qio or qout to dio. The merged file has a price worth knowing about. The esptool documentation says that in the raw format the gaps between files are filled with 0xFF bytes, the value of erased flash. A merged image therefore covers the whole range from the bootloader to the app, including the settings area between the partition table and boot_app0. Keep that in mind for the update section.
How does OpenGizmo flash from the browser without the web component?
Each OpenGizmo project page has a firmware card that is not the ESP Web Tools element. It is the component app/components/projects/FlashFirmware.vue in the site's source, which imports ESPLoader and Transport from esptool-js (version 0.7.1 in the site's package.json) and reads a manifest in the ESP Web Tools format. So the format is shared, and only the front end differs.
A WiFi-connected crypto display built with an ESP32, a MAX7219 LED matrix, and a Nuxt 4 web app for browser-based setup and configuration.
- Live crypto ticker
- MAX7219 LED matrix
- Web-based setup
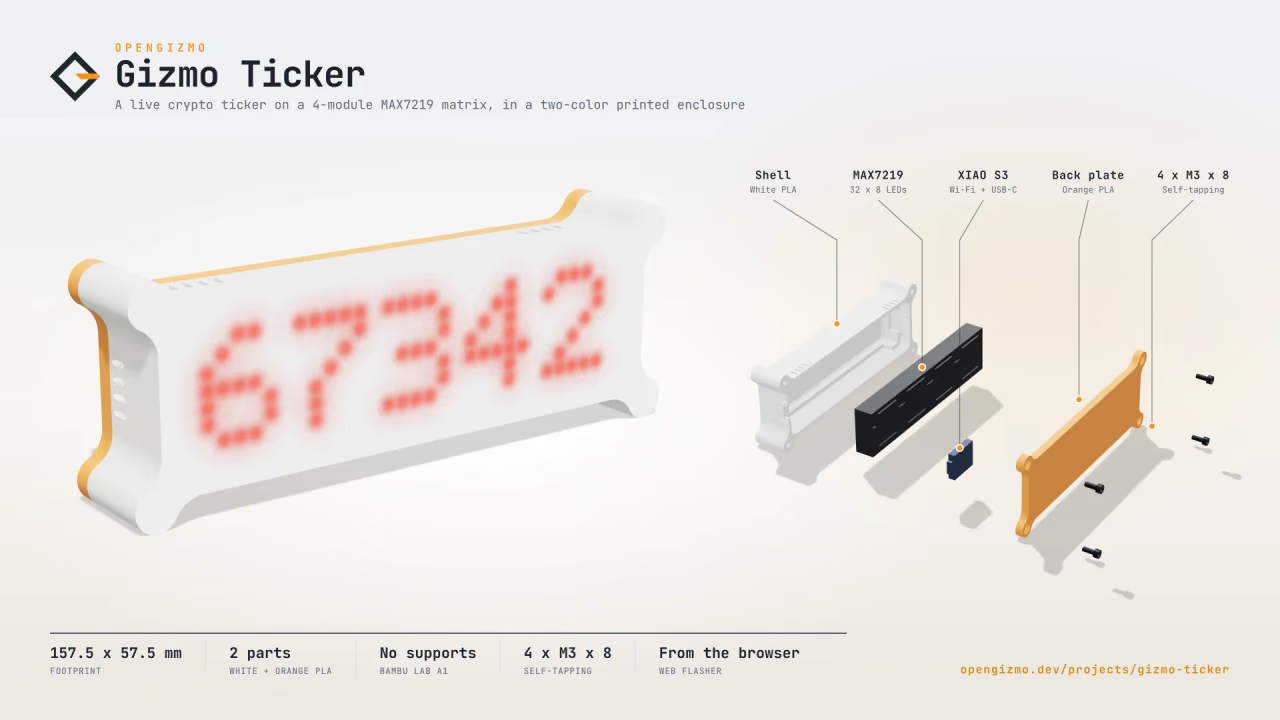
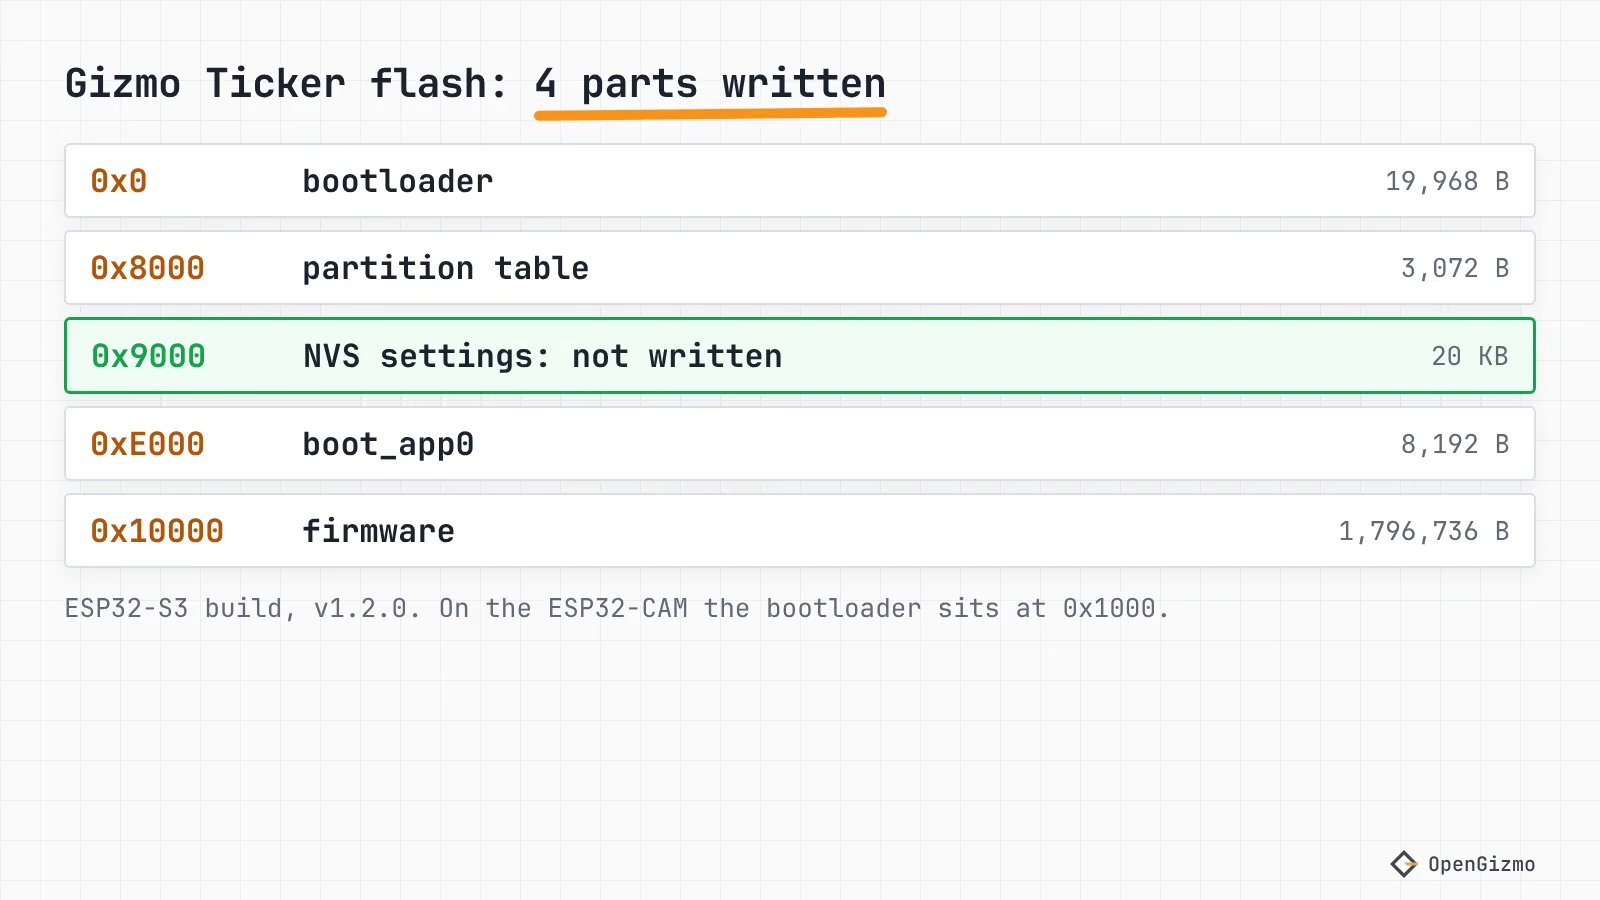
Here is the real manifest the Gizmo Ticker card reads, at https://cdn.opengizmo.dev/gizmo-ticker/manifest.json (fetched on November 14, 2026):
{
  "name": "Gizmo Ticker",
  "version": "v1.2.0",
  "new_install_prompt_erase": false,
  "builds": [
    {
      "chipFamily": "ESP32-S3",
      "parts": [
        {
          "path": "v1.2.0/release-bootloader.bin",
          "offset": 0
        },
        {
          "path": "v1.2.0/release-partitions.bin",
          "offset": 32768
        },
        {
          "path": "v1.2.0/release-boot_app0.bin",
          "offset": 57344
        },
        {
          "path": "v1.2.0/release-firmware.bin",
          "offset": 65536
        }
      ]
    }
  ]
}The offsets are decimal, as JSON requires: 32768 is 0x8000, 57344 is 0xE000, 65536 is 0x10000. The Gizmo Reolink Switch manifest has the same four parts on the same chip. The Gizmo Camera manifest has "chipFamily": "ESP32" and its bootloader at 4096 (0x1000), matching the ESP-IDF page above. The other offsets are the same.
One key in these manifests is for the official component only: new_install_prompt_erase: false. The OpenGizmo card never reads it. ESP Web Tools would treat false as its default, which is to erase all data on a new installation.
When you press Flash firmware, the card does this, in this order:
- Calls
navigator.serial.requestPort()and connects with esptool-js at 115200 baud, which identifies the chip. - Downloads the manifest with
cache: 'no-store', so a new release shows up at once. - Looks for the build whose
chipFamilyequals the detected chip name. If there is none, it stops with "This firmware is not built for the connected chip", so an ESP32 image never lands on an ESP32-S3. - Downloads the four parts one by one, resolving each path against the manifest URL.
- Calls
writeFlashwithflashMode,flashFreqandflashSizeset to'keep',eraseAll: falseandcompress: true. - Resets the board.
Why not use the web component? I can point to three things in the code, and I did not try the official button with these manifests, so I can't say how it would behave:
- The four parts stay separate. With
'keep', esptool-js leaves the bootloader's header as the build made it, so no merge step is needed. And the parts skip the settings area, which a merged file would overwrite. - A reset fix. A comment in the site's
app/utils/hardReset.jssays esptool-js only releases RTS, which does nothing when the line is already released, as it is over the chip's own USB on the ESP32-S3. The board then stayed in the bootloader until unplugged. The site passes its own reset: DTR released, RTS held for 100 ms, then released. - A tailored card. It shows the version before flashing, four stages (connect, download, flash, reboot), a log, the release notes of the version it installs, and translated messages.
The firmware has no Improv support: I found no Improv code in the three repositories. The first Wi-Fi setup goes through a captive portal instead. The Wi-Fi provisioning comparison covers Improv against the alternatives, and the captive portal fix guide covers the portal.
What is the shortest path to your own install page?
Here is the whole job in order, for your own firmware:
- Build the firmware and collect its parts with their offsets (or one merged file at offset 0 for ESP Web Tools).
- Upload the parts and a
manifest.jsonthat lists them to an HTTPS host, with CORS headers if it is not the page's own site. - Add the
<script>and<esp-web-install-button>snippet above to an HTTPS page, with the manifest URL. - Open the page in Chrome or Edge on a desktop, plug in the board with a data cable, press the button and pick the port.
- Check that the board boots your firmware and that the page offers the right build for each chip you list.
Where do you host the firmware, and what about CORS?
You can host the manifest and the parts on the same site as the install page, which needs no CORS setup. OpenGizmo keeps them on a CDN (cdn.opengizmo.dev, backed by a Cloudflare R2 bucket in the release workflow), so the browser makes cross-origin requests. ESP Web Tools tells you to send Access-Control-Allow-Origin: https://domain-of-your-website.com in that case.
I checked it on November 14, 2026 by requesting the Ticker manifest with Origin: https://opengizmo.dev: the response carried access-control-allow-origin: https://opengizmo.dev and vary: Origin, and a preflight request returned 204 with access-control-allow-methods: GET. The CDN allows only the site's origin, not *. Test your own with curl -I -H "Origin: https://your.site" <manifest-url>.
How do you release a new version without losing Wi-Fi settings?
Keep each version's files in their own folder, never change them, and move the manifest last. OpenGizmo's release workflow does this on a manual run from main:
- Reads
VERSIONand stops if the tag exists or the web app version differs. - Runs the web app tests and the native firmware tests, then builds the firmware.
- Runs package_firmware.py, which asks PlatformIO for the flash images and their offsets (
pio project metadata) and writesmanifest.json. - Creates a GitHub release with the parts, whose notes give an esptool command for flashing over USB.
- Uploads the parts with
Cache-Control: public, max-age=31536000, immutable, then the manifest withmax-age=60.
Uploading the manifest last means the website only offers a version that is fully uploaded, and a one-minute cache means a release shows up within a minute. The headers I saw on November 14, 2026 match this.
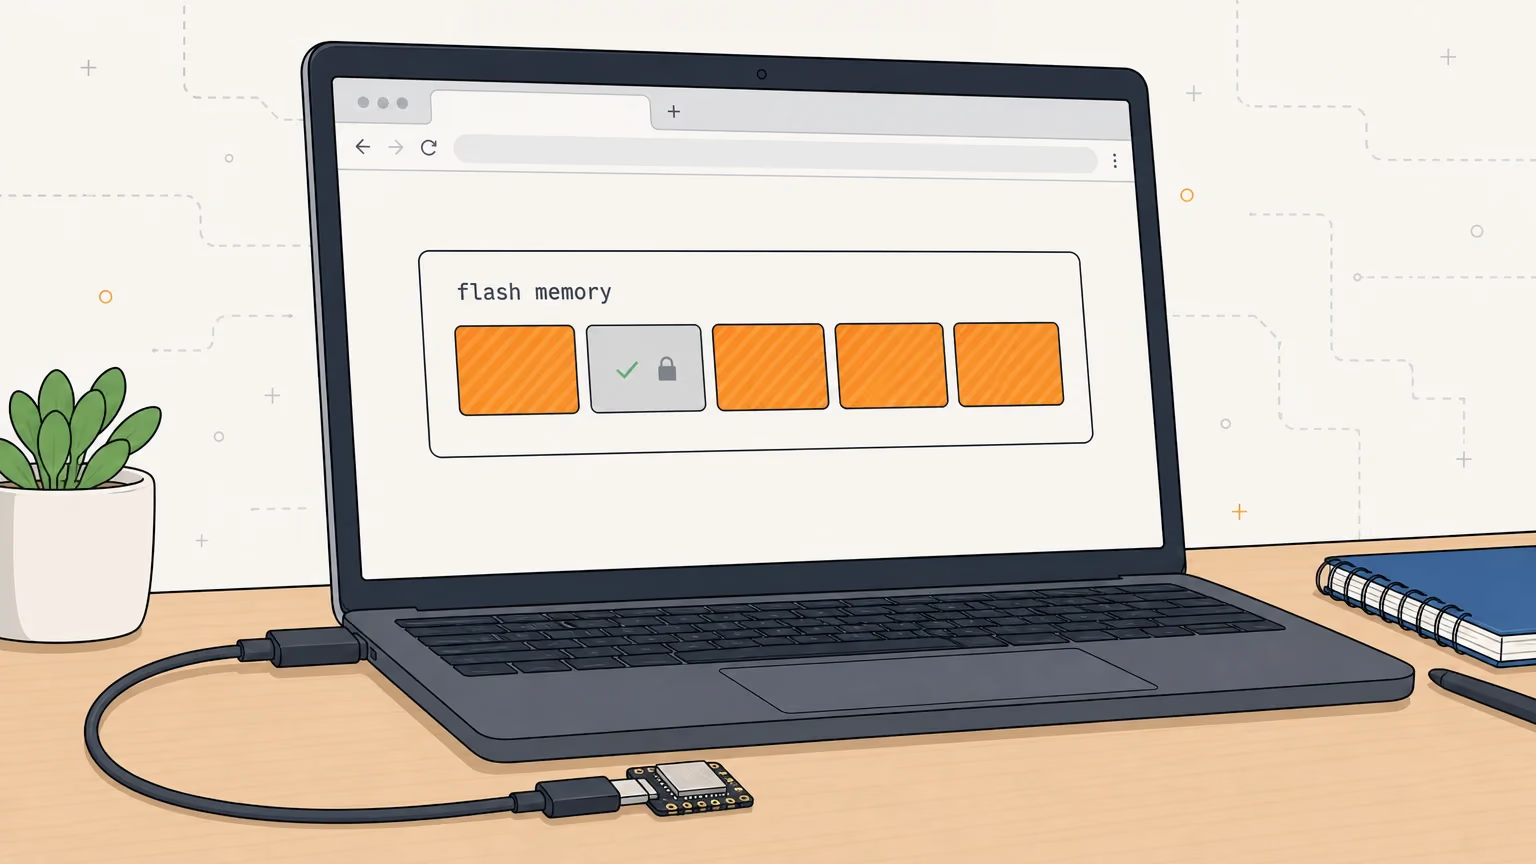
The settings survive because of what is not written. The projects use the huge_app.csv partition table, in which the Arduino core defines nvs at 0x9000 (0x5000 bytes) and otadata at 0xE000. The four parts do not cover the nvs region (0x9000 to 0xDFFF), and eraseAll is false, so the Preferences data lives on. That follows from the offsets and the code. I did not measure a flash before and after. The partition table guide explains the layout, and the OTA comparison explains why these devices update over USB, as they have no second app slot.
With the official component, read the erase rule: ESP Web Tools erases all data on a new installation unless new_install_prompt_erase is true and the user declines. It offers a new installation when it cannot detect the device's current firmware, or when the detected firmware does not match the manifest name.
What breaks most often?
Most failures are the cable, the port or the browser, not the firmware. Work down this table, changing one thing at a time.
| What you see | Likely cause | What to try |
|---|---|---|
| Button disabled, or 'Cannot flash from this browser' | Browser without Web Serial, or the page is not HTTPS | Use Chrome or Edge on a desktop, over HTTPS or localhost |
| Port picker shows no device | Charge-only USB cable, or the board is not detected | Use a data cable and another USB port, then reload the page |
| Connecting fails, no serial data received | The chip is not in download mode, or the USB link is flaky | See the 'Failed to connect' guide |
| 'This firmware is not built for the connected chip' | The manifest has no build for that chip family | Add a build for it, or use the right board |
| 'Firmware download failed with status 404' | A part path in the manifest is wrong | Open each part URL in a tab |
| Manifest cannot be read, with a CORS error in the console | The CDN does not allow your page's origin | Send Access-Control-Allow-Origin for your domain |
| Flash finishes but the board sits in the bootloader | No real reset pulse after flashing | Unplug and replug; a custom hard reset like the one above fixes it |
For the third row, Failed to Connect to ESP32: No Serial Data Received walks through boot mode, cables and drivers. The error texts in the table are the ones in the OpenGizmo card's translation file, and your own page will say something else.
Where does browser flashing stop?
Browser flashing gives you a page where anyone with Chrome or Edge, a cable and a board can install your firmware in a minute, with the settings kept and a version number on screen. We covered the pieces: Web Serial over HTTPS, a manifest of parts and offsets (merged for ESP Web Tools, or four parts with esptool-js), CORS if the files live elsewhere, and a release that uploads the manifest last.
Three limits remain. It only covers wired flashing; for updates over Wi-Fi see the OTA methods comparison. Browser support outside Chrome and Edge is thin as of November 2026, and I tested none of it. And I only described the official component from its docs and source, not from my own use. If you want to see the whole thing working, the Gizmo Ticker build guide flashes a board from start to finish, and the three project pages each have the card.
Frequently asked questions
Find quick answers to the most common questions about this topic.
Yes. A page that uses ESP Web Tools or esptool-js talks to the board through the Web Serial API, so you only need a data USB cable and Chrome or Edge on a desktop. The page must be served over HTTPS. You pick the serial port, and the firmware is written from the browser.

Author
Mauro BrambillaReady to build your own gizmo?
Pick an open-source ESP32 project and follow its step-by-step guide, from the parts list and wiring to the firmware and the first boot.