Camera
01The OV2640 sensor and the white flash LED of the AI Thinker ESP32-CAM, with snapshots from 160 × 120 up to 1600 × 1200 and adjustable JPEG quality.
An ESP32-CAM Wi-Fi camera that takes a JPEG snapshot on every request, with a web app to set it up from your phone and an MCP server for AI agents.
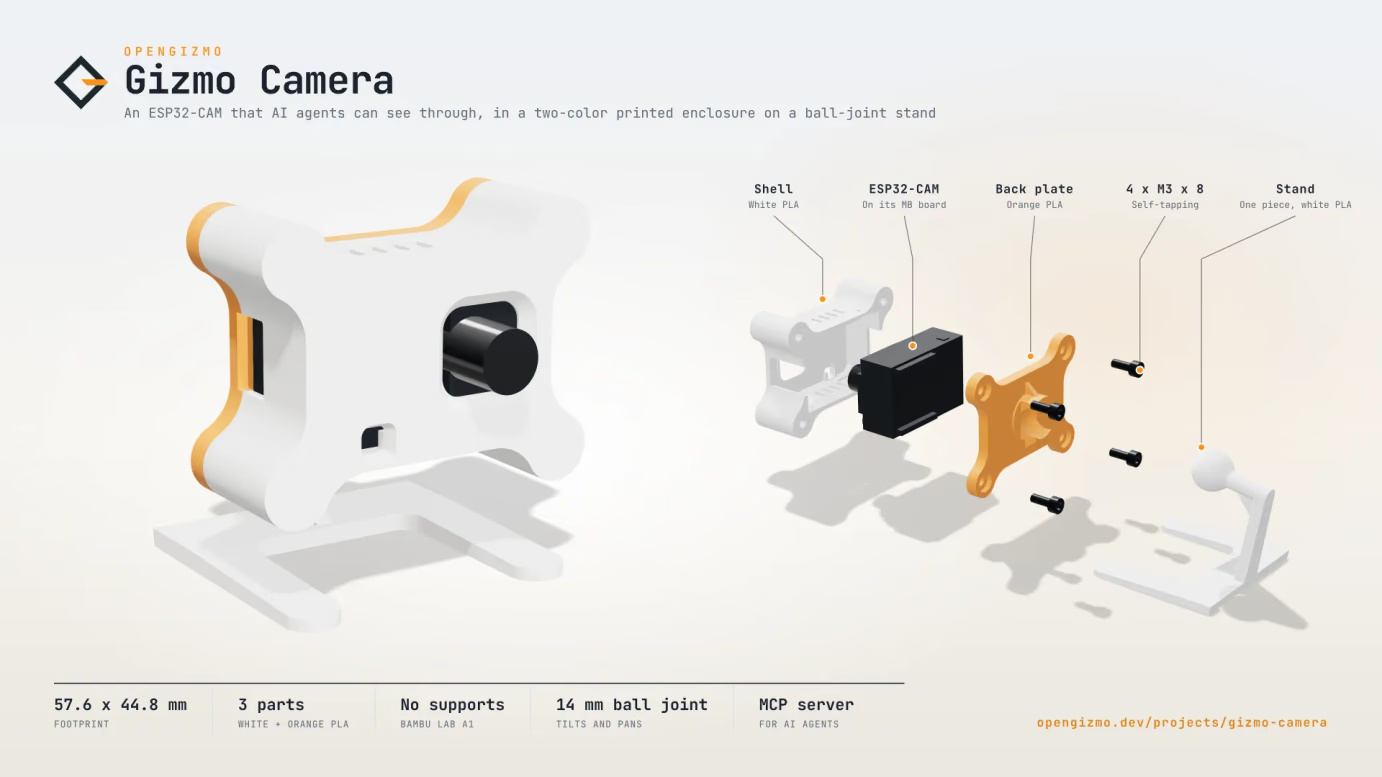
How the parts fit together, and what each detail of the build is for.
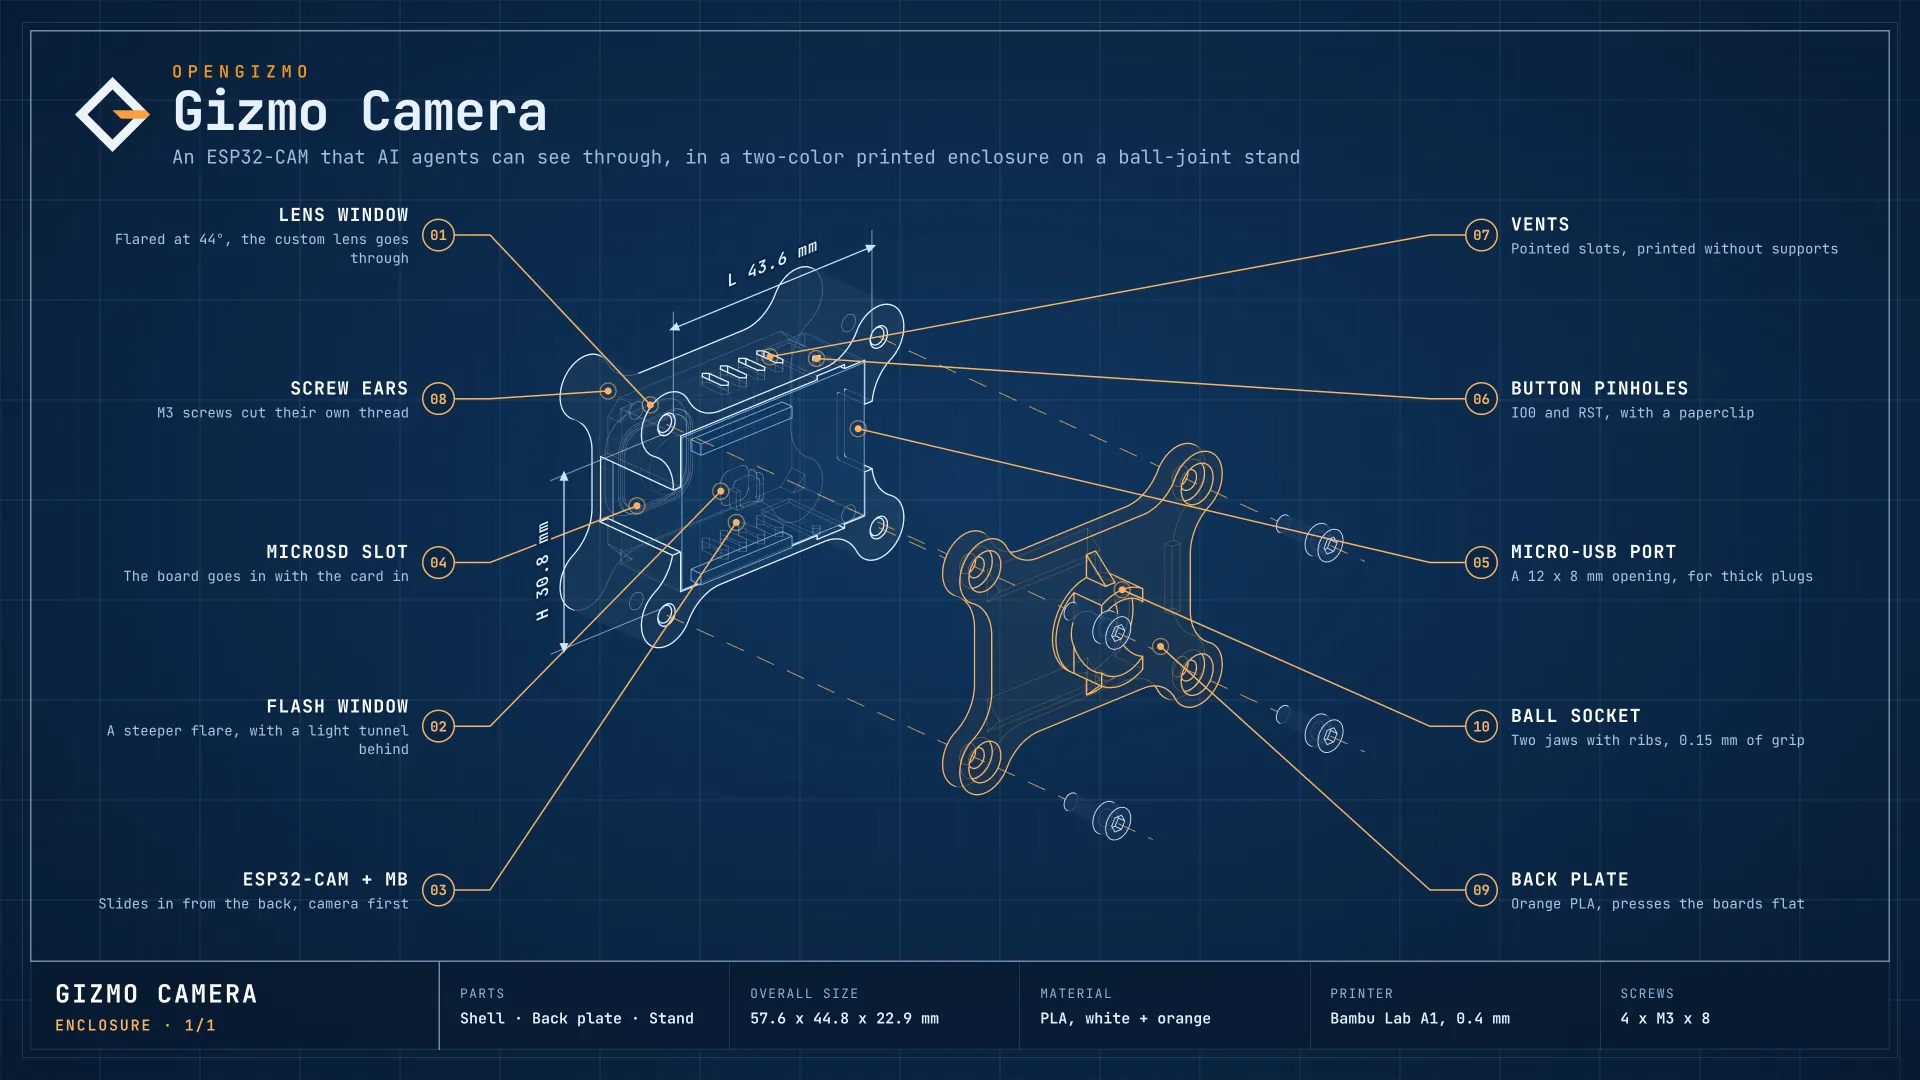
A quick overview of the hardware, firmware, and behavior behind this build.
The OV2640 sensor and the white flash LED of the AI Thinker ESP32-CAM, with snapshots from 160 × 120 up to 1600 × 1200 and adjustable JPEG quality.
Every snapshot is a GET request to /api/capture that returns a JPEG, with its resolution, quality and flash as options, so browsers, scripts and home automation servers can all use it.
An MCP server at /mcp lets agents like Claude Code look through the camera with a take_snapshot tool, and a Markdown guide at /llms.txt explains how to use it.
Flashed from the browser, then set up from a hotspot on first boot, with local access through gizmo-camera.local on supported networks. No code to edit and no credentials in the firmware.
Gizmo Camera gives a cheap ESP32-CAM module a proper job: a camera on your network that answers every request with a fresh photo. Point it at a 3D printer, a plant or a door, and anything that can make an HTTP request can see what it sees. AI agents get it as an MCP server, so they can look through it too.
Every photo, whoever asks for it, follows the same short path.
| Step | What happens |
|---|---|
| Ask | The web app, a script or any HTTP client calls /api/capture with the resolution, the quality and the flash. An AI agent asks the same by calling take_snapshot on the MCP server. |
| Shoot | The firmware applies the options to the sensor, turns on the flash if asked, and takes a fresh frame. |
| Send | The JPEG is streamed straight from the camera's memory to the client, with its resolution and capture time in the response headers. |
The camera takes one photo at a time: a request that arrives while another one is being taken gets a clear busy answer, so it can simply try again a moment later.
Gizmo Camera turns a few euros of hardware into a camera that people, scripts and AI agents can all use the same way. It is also a compact template for any ESP32 device that should be easy to talk to from code.
What you see on your phone once the device is on your Wi-Fi.


The parts to get before you start, and what to look for when you buy them.
AI Thinker ESP32-CAM
With the OV2640 camera and the 4 MB of PSRAM the firmware needs: every AI Thinker module has both.
ESP32-CAM-MB USB board
The USB adapter the ESP32-CAM plugs into, for flashing and power: the ESP32-CAM has no USB port of its own.
Micro-USB data cable
A data cable, not a charge-only one, on a good USB port or 5 V supply: the flash LED and the Wi-Fi draw current peaks.
Follow these steps to get the project running, from the first local setup to the initial upload or configuration.
Step 1
The ESP32-CAM has no USB port of its own: sit it on its ESP32-CAM-MB USB board, and plug that into your computer with a data USB cable. Use Chrome or Edge, so the browser flasher can find its serial port.
Step 2
Scroll down to the firmware flashing card, start the upload from the browser, and wait for it to complete. If the flasher can't connect, hold IO0 on the MB board, press and release RST, then release IO0 and try again. When it's done, press RST to start the new firmware.
Step 3
On the first boot, join the Gizmo-Camera hotspot with your phone, and pick your network on the page that opens. The Wi-Fi is saved on the board, never in the firmware.
Step 4
Once the camera joins your Wi-Fi, open gizmo-camera.local, or its IP address, choose the resolution, the quality and the flash, and take a snapshot. Save it as a JPEG, or grab one from a script with a plain HTTP request.
curl -o photo.jpg "http://gizmo-camera.local/api/capture?resolution=SVGA"A few practical answers about how the project works, how it is configured, and what to expect from the hardware.
Anything you want to check on from time to time: a 3D printer, a plant, a door or a parking spot. It takes a fresh photo whenever something asks for one, from the web app, a script, a home automation server or an AI agent.
Browse the repository for firmware, hardware notes, and the implementation details behind this build.
Open GitHub
More open-source ESP32 builds you can make next.
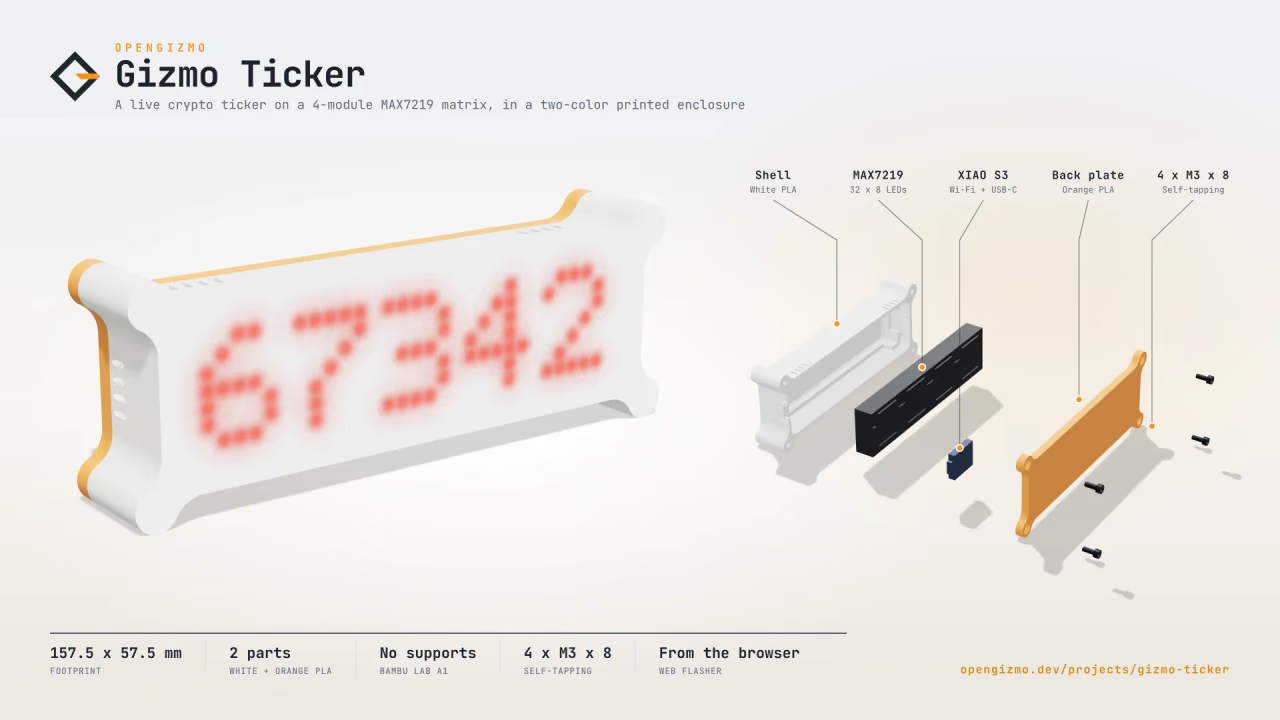
A WiFi-connected crypto display built with an ESP32, a MAX7219 LED matrix, and a Nuxt 4 web app for browser-based setup and configuration.
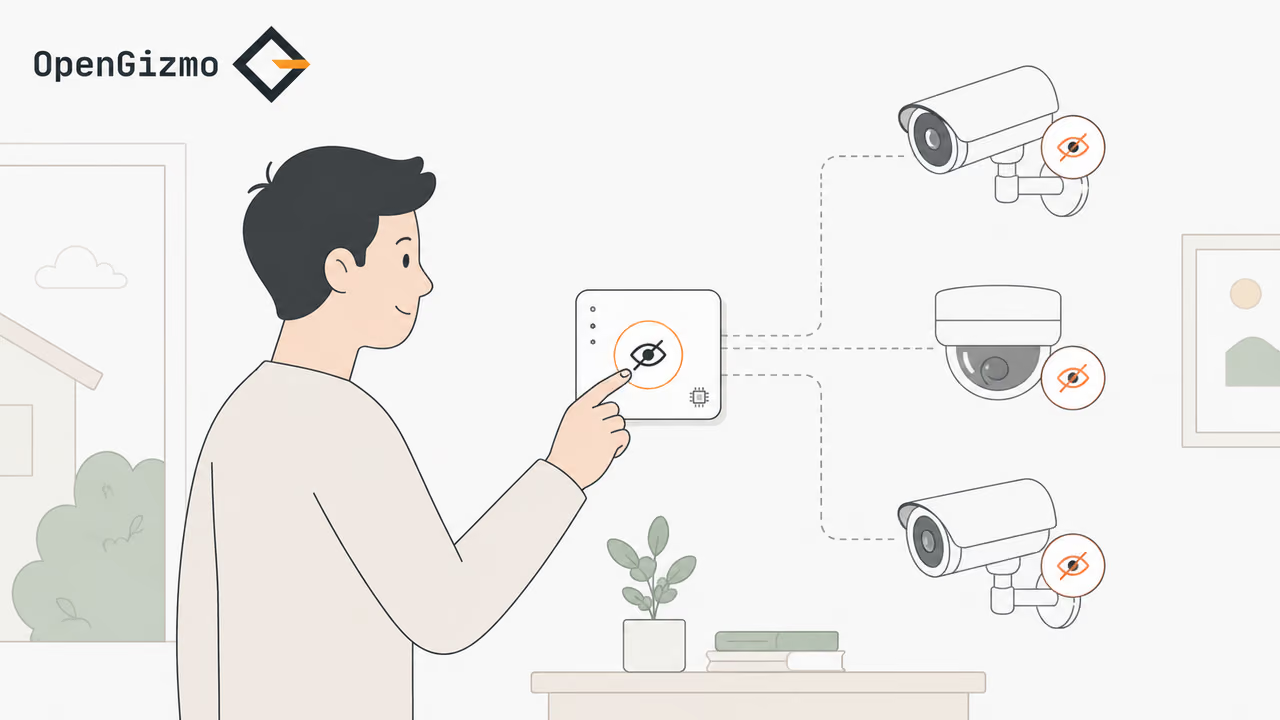
An ESP32-powered quiet-exit switch that uses a button, buzzer, 16x2 I2C LCD, and WiFi connection to temporarily mute Reolink NVR notifications and recording.
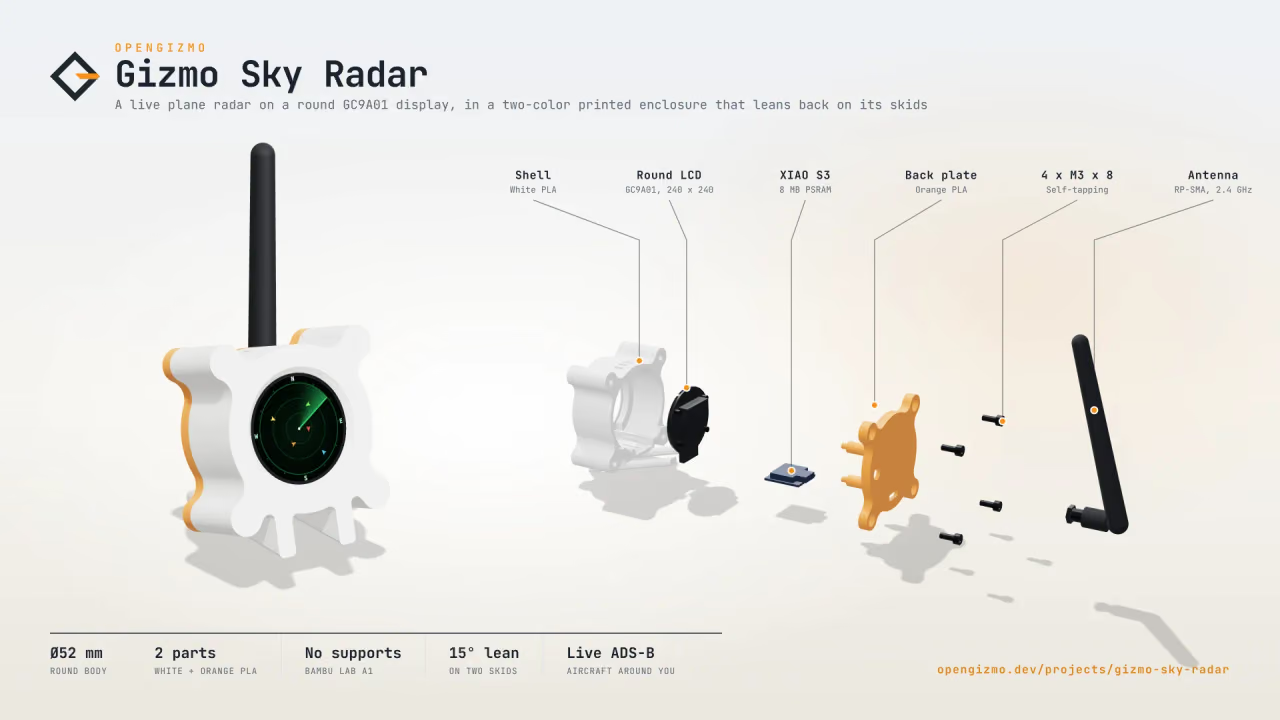
A live plane radar for your desk, on an ESP32-S3 and a round display, showing the aircraft around you with a web app to set it up from your phone.