How to Control a Reolink NVR from an ESP32
Introduction
If you want to control a Reolink NVR from an ESP32, the technical part is not the real obstacle. The real challenge is designing the workflow so the device feels trustworthy in daily use.
Sending an HTTPS request from an ESP32 is straightforward. Building a small hardware controller that can mute notifications, pause recording, show state clearly, survive network hiccups, and restore the original NVR behavior automatically is where the project becomes useful.
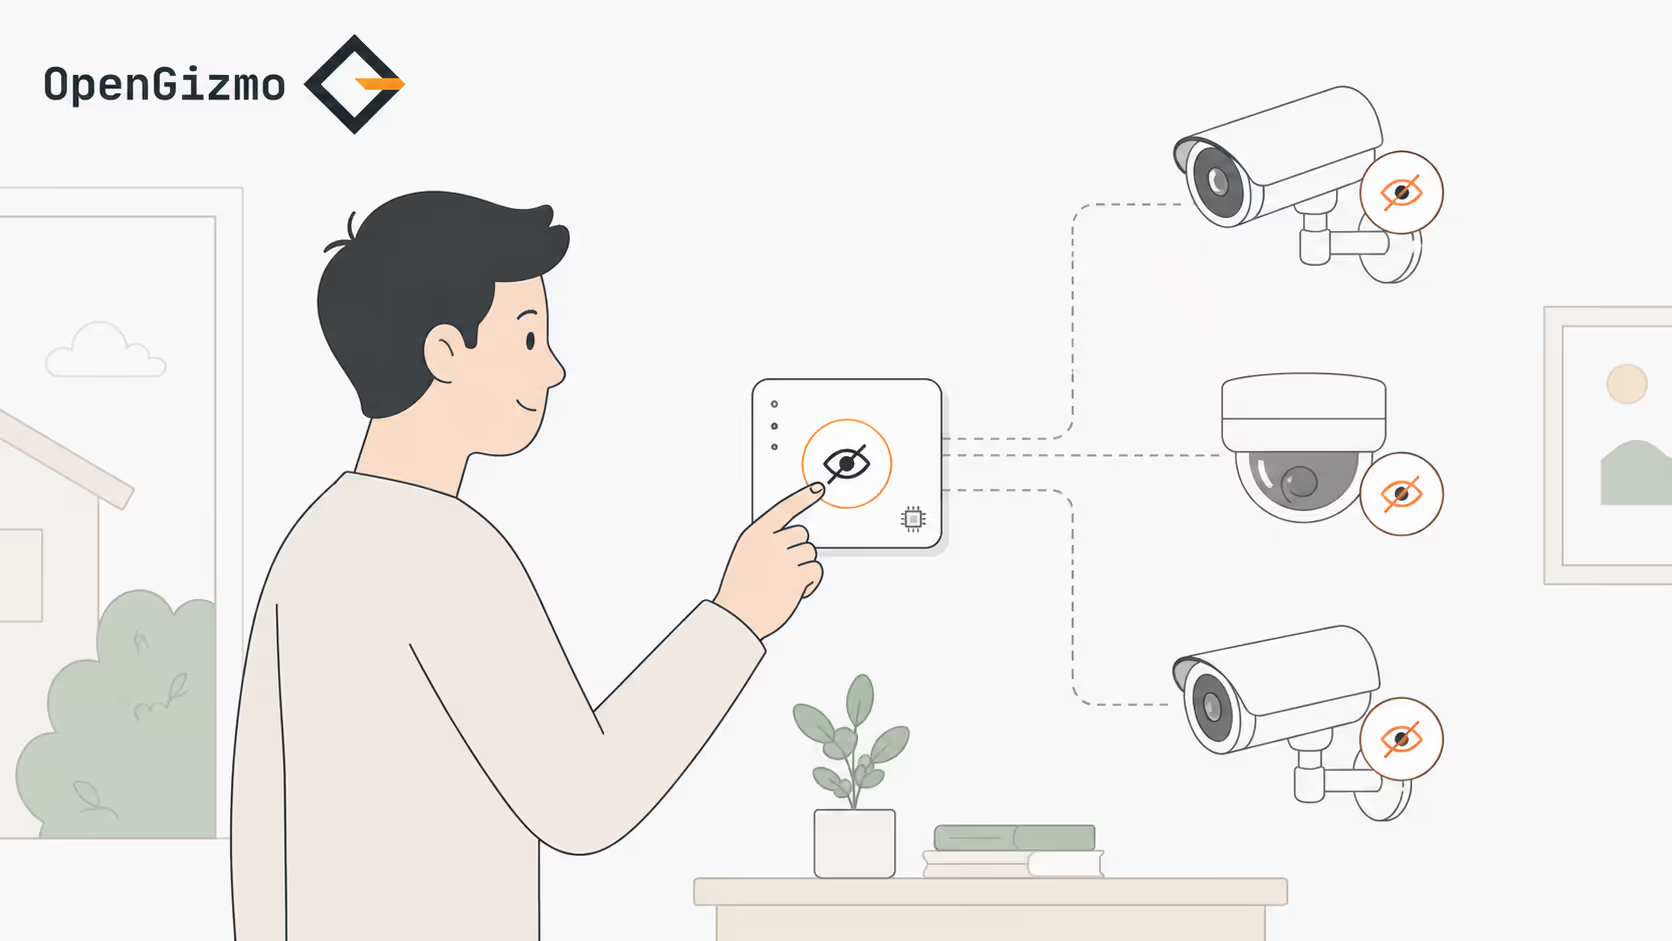
That is exactly the pattern behind Gizmo Reolink Switch: a dedicated one-button ESP32 controller for a very specific home-security problem. Instead of opening the Reolink app every time you leave home, the device handles a short quiet-exit flow locally.
TL;DR: To control a Reolink NVR from an ESP32, you need a WiFi-connected ESP32, an authenticated HTTPS request flow, a clear local interface, and a safe restore strategy so the automation does not leave your NVR in the wrong state.
- The ESP32 can talk directly to a Reolink NVR over WiFi
- The real challenge is state management, not just sending a request
- A button, buzzer, and small LCD make the controller much more usable
- Automatic restore is what turns a prototype into a practical device
What You Are Actually Building
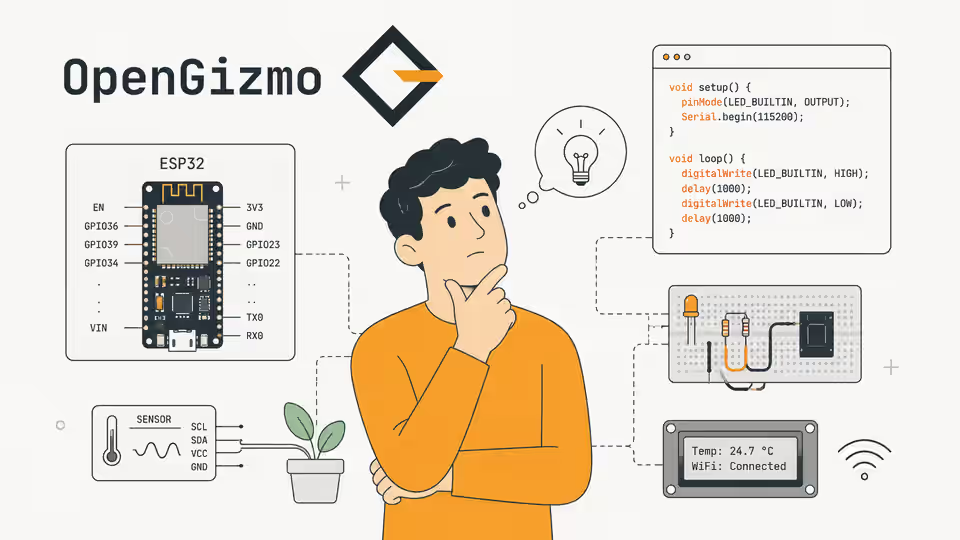
At a high level, this is not just an ESP32 making a web request. It is a small single-purpose appliance with four responsibilities:
| Layer | What it does | Why it matters |
|---|---|---|
| Input | Reads a physical button or menu action | The user needs a fast local trigger |
| Feedback | Shows status on an LCD and plays buzzer cues | The device must communicate what it is doing without ambiguity |
| Network control | Authenticates with the Reolink NVR and sends state changes | This is the actual integration layer |
| Restore logic | Returns the NVR to its previous state after the timer ends or is cancelled | Without this, the device is not reliable enough for daily use |
That last layer is the one most quick tutorials skip. They focus on proving that the ESP32 can hit an endpoint. The useful milestone is preserving the original state, changing it deliberately, and restoring it predictably.
Why an ESP32 Is a Good Fit
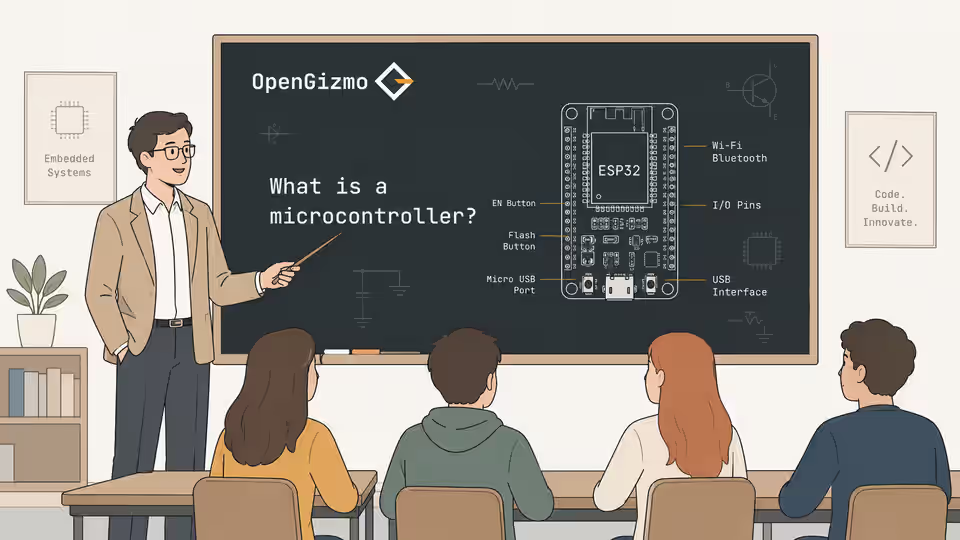
The ESP32 is a strong fit for this kind of hardware control because it gives you WiFi, enough processing headroom for TLS and JSON handling, and enough GPIO to build a comfortable local interface. For this job, you do not need a Linux board or a full application stack. If you want a refresher on that distinction, see What is a microcontroller?.
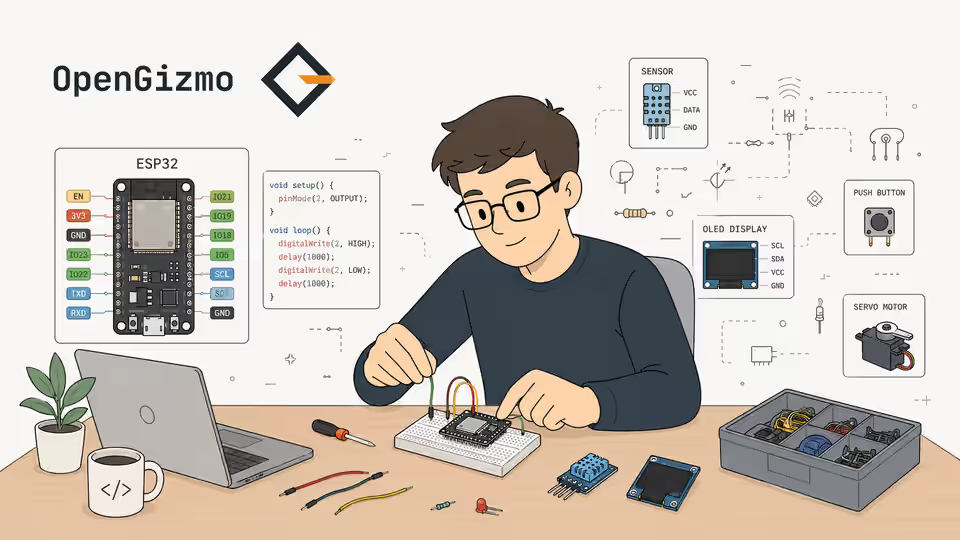
An ESP32 also gives you freedom to make the controller feel physical and immediate:
- A button for short-press and long-press actions
- An I2C LCD for clear state and countdown screens
- A buzzer for confirmation and warning cues
- WiFi for direct NVR communication without a second gateway
Could you build a similar device with an ESP8266? Possibly. But this is the kind of project where the ESP32's extra headroom and broader hardware flexibility are welcome, as covered in ESP32 vs ESP8266.
The Core Control Flow
The cleanest way to think about the project is as a reversible control loop.
Step 1: Trigger a local action
The user presses a physical button to choose a duration or start quiet mode. In the Gizmo Reolink Switch pattern, a short press cycles through durations and a long press confirms the action.
Step 2: Capture the current NVR state
Before changing anything, the firmware should discover the current monitoring state and keep enough information to restore it later. This is the part that gets overlooked most often.
If you skip state capture and just blast a hardcoded "mute" request followed later by a hardcoded "unmute" request, you risk restoring the wrong behavior. A good controller treats the NVR like a stateful system, not a light switch.
Step 3: Authenticate and send the API calls
Once the user confirms the action, the ESP32 connects over WiFi and authenticates with the Reolink NVR. From there, the firmware can discover active channels and send the right requests to disable notifications and recording for the quiet-exit window.
This is where HTTPS handling matters. Espressif's HTTP client for ESP-IDF supports authenticated HTTP and HTTPS request flows, connection reuse, response handling, and configurable timeouts. See the official ESP HTTP client docs for the underlying request model: ESP HTTP Client.
Step 4: Maintain clear user feedback
While quiet mode is running, the device needs to keep the user informed locally. An LCD is ideal for this because it can show a countdown, current mode, restore state, and basic errors without needing a phone or browser.
A buzzer helps because it removes the need to stare at the display constantly. A short confirmation beep, a warning near the end, and a completion tone are enough.
Step 5: Restore the original state
When the timer ends or the user cancels it, the firmware reapplies the saved monitoring state. This is the real finish line of the workflow.
If the device fails here, the automation becomes risky. That is why the restore path deserves as much attention as the initial mute path.
- 1Trigger the action from a physical control
- 2Read and preserve the current NVR state
- 3Send authenticated API requests to apply the temporary change
- 4Keep the user informed through local feedback
- 5Restore the original state automatically
Hardware You Actually Need
You do not need much hardware to prove the concept, but you do need enough local feedback to make the device pleasant to use.
| Part | Purpose | Recommended? | Notes |
|---|---|---|---|
| ESP32 development board | Runs the firmware and WiFi stack | Required | USB-C boards are easier to live with |
| Reolink NVR on the same network | Target device for control | Required | Stable local reachability matters more than internet access |
| Push button | Starts and confirms actions | Required | One button is enough for a compact workflow |
| 16x2 I2C LCD | Displays countdown and status | Strongly recommended | Much clearer than relying on serial logs |
| Buzzer | Provides immediate audible feedback | Strongly recommended | Useful for confirmation, warning, and completion |
Firmware Architecture That Keeps the Project Manageable
One of the easiest mistakes in embedded projects like this is stuffing everything into one file. A controller that handles inputs, timer rules, LCD output, WiFi, and API calls will turn messy fast if the firmware is not separated into focused modules.
A cleaner layout looks like this:
- Button module for short-press, long-press, and debounce logic
- Menu or timer module for duration selection and countdown state
- Display module for LCD screens and message formatting
- Buzzer module for tones and timing patterns
- WiFi module for connection and retry management
- Reolink module for authentication, channel discovery, mute, and restore
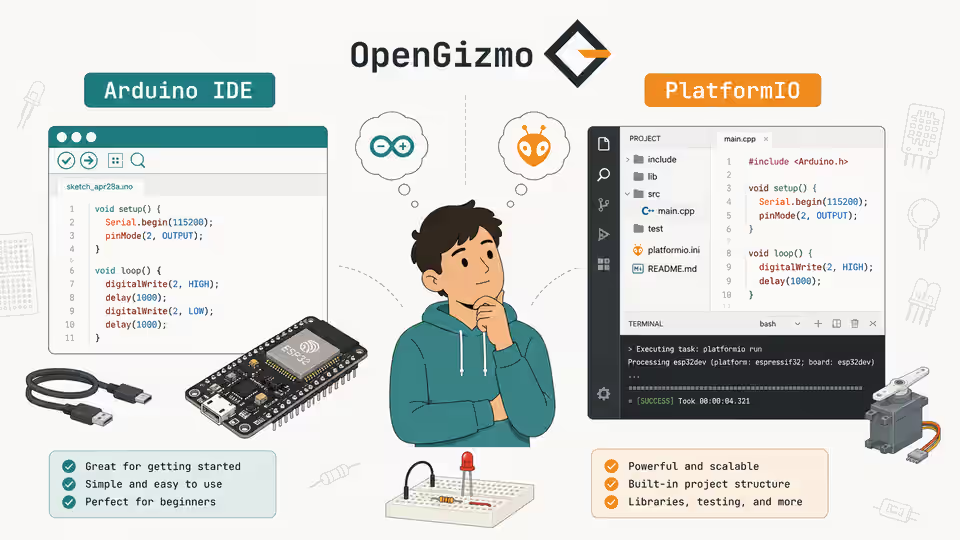
That modular split is one reason PlatformIO is such a good fit here. Once a project has multiple source files, secrets, and libraries, a structured workflow helps a lot more than a single-sketch setup. If you want the broader comparison, see Arduino IDE vs PlatformIO for ESP32. For the actual CLI and project workflow, the PlatformIO documentation is the canonical reference: PlatformIO Core CLI Guide.
The Reolink Side: What the ESP32 Has to Do
From the ESP32's perspective, controlling a Reolink NVR is a network integration problem with three concerns.
Authentication
The firmware needs credentials and a repeatable login flow. In practice, this means storing the NVR host, username, and password in a local config layer rather than hardcoding them directly in the application logic.
For a PlatformIO-based workflow, a separate secrets file is a sensible approach because it keeps credentials out of the main source tree while still letting the firmware compile with build-time configuration.
Channel discovery
A better controller should detect which channels are active and apply the state change only where appropriate.
Reversible updates
This is the important part: the firmware should record what it changed so it can undo only those changes later. That is safer than applying a naive global restore.
Here is the original framework worth keeping in mind for this class of project:
The best ESP32-to-NVR controller is not the one that can disable recording fastest. It is the one that can explain its current state clearly and restore the exact previous state without surprises.
That is the standard to design against.
Common Failure Modes and How to Design Around Them
A lot of practical value in this project comes from handling failure modes before they happen.
| Failure mode | What goes wrong | Better design choice |
|---|---|---|
| WiFi is unavailable | Mute action starts but the NVR never changes state | Block the action early and show a clear local error |
| Credentials are wrong | Authentication fails and the device feels broken | Validate configuration and keep serial logs available for troubleshooting |
| State is not captured first | Restore action puts the NVR in the wrong mode | Always read current state before writing a new one |
| The timer ends during a network issue | Restore does not happen on time | Retry restore and keep the user informed on the display |
| The UI is too vague | User does not trust what the device just did | Use explicit LCD messages and audible cues for every key transition |
This is also why a plain browser dashboard is not always the best answer. A web UI is useful for configuration, but a physical controller is better for immediate, repeated actions.
A Practical Build Plan
If you want to build your own version, do it in stages.
- 1Start with WiFi connection and basic serial logs
- 2Add a button and verify short-press and long-press behavior
- 3Implement login to the Reolink NVR and verify a simple authenticated request
- 4Add state readback before any mute action
- 5Apply the temporary mute or recording change
- 6Add restore logic and test cancellation as well as timer completion
- 7Only then add the LCD and buzzer polish layer
That order matters. Most embedded integration bugs live in setup, network, and state assumptions.
Security and Reliability Notes
Use HTTPS when possible
If the NVR supports secure communication, use it. The ESP32 is capable of HTTPS, but you need to think about certificate handling, timeouts, and memory usage. Espressif's documentation is worth reading here because the HTTP client details affect real-world reliability, especially around authentication and TLS behavior.
Keep secrets out of the main source
A local secrets file is a cleaner default than scattering credentials across source files. It is easier to reason about, easier to document, and much safer if the repository is public.
Treat restore as a first-class feature
A lot of hobby automation writes the "turn off" path first and hopes the recovery path will be easy later. That is backwards.
Final Thoughts
Controlling a Reolink NVR from an ESP32 is doable. The part that deserves real engineering attention is the workflow around the network call: capturing state, changing it deliberately, communicating it clearly, and restoring it safely.
The most useful version of this project is not "ESP32 sends API request." It is "ESP32 becomes a dependable physical controller for a repetitive home-security action."
If you want to see that pattern applied in a real build, start with Gizmo Reolink Switch. Then browse the broader OpenGizmo projects for more examples of small ESP32 devices built around practical workflows.
Controlling a Reolink NVR from an ESP32 is absolutely doable, and the hardware side is simpler than many people expect. The part that deserves real engineering attention is the workflow around the network call: capturing state, changing it deliberately, communicating it clearly, and restoring it safely.
The most useful version of this project is not "ESP32 sends API request." It is "ESP32 becomes a dependable physical controller for a repetitive home-security action."
If you want to see that pattern applied in a real build, start with Gizmo Reolink Switch. Then browse the broader OpenGizmo projects for more examples of small ESP32 devices built around practical workflows.
Frequently asked questions
Find quick answers to the most common questions about this topic.
Yes. An ESP32 can control a Reolink NVR over WiFi by sending authenticated HTTPS API requests to change notification and recording settings, then restore them later.
No. Home Assistant can be useful, but it is not required. A standalone ESP32 can talk directly to the Reolink NVR if you handle login, request flow, and state restoration in firmware.
The hardest part is not the button or display. It is managing authentication, network reliability, and restoring the original NVR state safely when the timer ends or is cancelled.
HTTPS is the safer default because you are sending credentials and state-changing commands across the network. On ESP32, this means handling TLS and request reliability carefully.
At minimum, you need an ESP32, a WiFi connection to the same network as the NVR, and some local interface such as a button. An LCD and buzzer make the device much easier to use.
A physical switch is faster and more predictable for repetitive tasks like leaving home. One button press can trigger a timed mute flow without opening an app or navigating menus.

Author